
The Best eSIM for Japan: How to Choose One That Works

What we would book or buy
Booking partner
Yesim
esim
Booking partner
Saily
esim
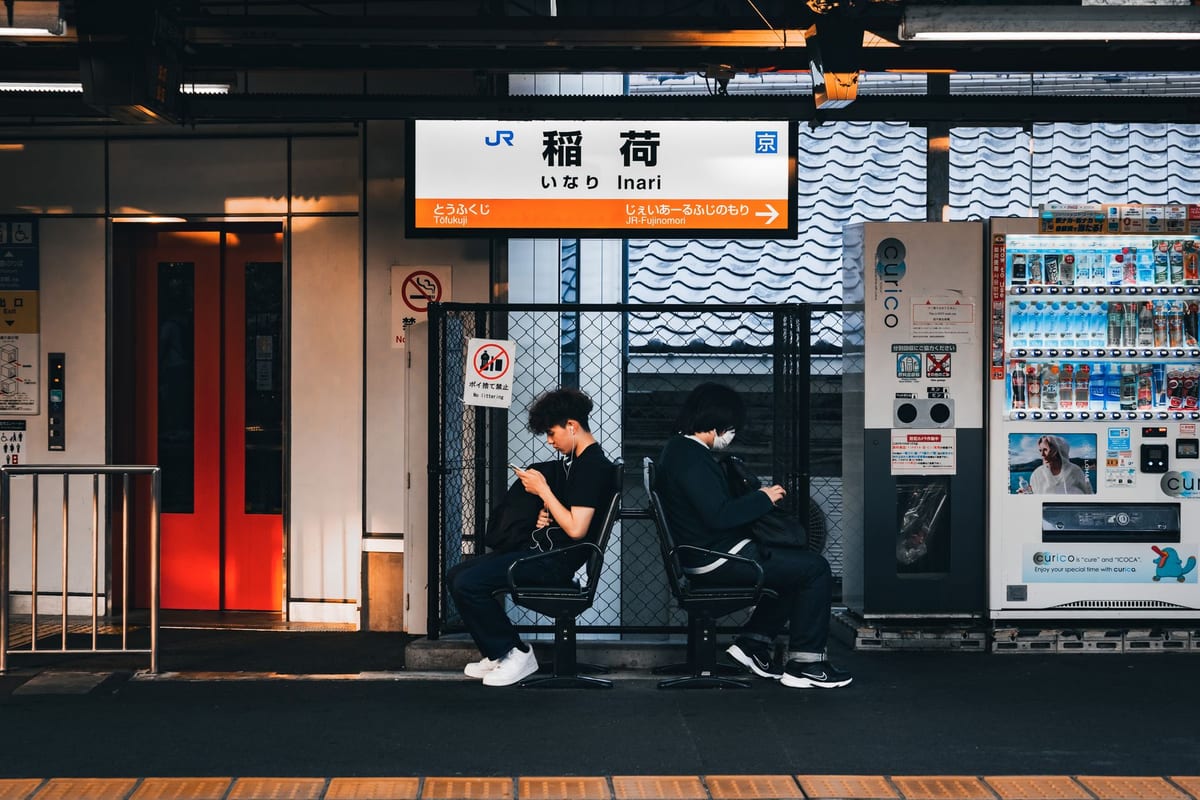
You land at Narita with a bag, a hotel booking whose address you cannot quite recall, and a phone that still believes it is at home. The ticket machine wants a card. The map wants data. This is the moment an eSIM is sold on: data that exists before you have found a seat, with no plastic card to lose and no counter to queue at.
The decision is not really “which brand”. It is whether you want a data-only plan that activates on arrival, a physical SIM from the airport, a pocket Wi-Fi unit you have to return, or your home carrier’s roaming. Each solves a different problem, and the wrong one stays annoying for the whole trip.
This guide covers the differences that matter on a Japan trip, then matches them to how people actually travel: a week in the cities, three weeks by rail, a working trip, a family of four.
Decide what kind of connection you actually need
A Japan trip needs four things from data: transit routing, restaurant and reservation lookups, translation of signs, and a messaging app. None of those need a phone number attached.
That matters because most travel eSIMs are data-only: an internet connection and nothing else, with no local number for calls or SMS. If you need to tell a ryokan you will arrive late, you use the messaging app they gave you, ask the front desk, or keep your home line active.
The second question is whether you are travelling alone. A solo traveller carries one plan on one phone and is done. A family often finds that a shared connection, or one plan per adult, changes the maths completely.
The third is timing. An eSIM can be installed at home before you fly and switched on when you land. A physical SIM cannot. That is why eSIMs have become the default for short trips, and why they are a poor fit for anyone whose phone is locked to a carrier.
What varies between eSIM providers, and what does not
Every provider sells the same underlying thing: access to a Japanese network through a profile installed on your phone. What differs is everything around it.
Coverage is the network behind the brand
Travel eSIM brands do not build networks. They resell access to local carriers, in Japan usually one of the major national networks. In cities and along the main rail corridors, coverage is rarely the problem; gaps appear in rural areas, mountain valleys and some older buildings. If your trip includes hiking or a remote onsen town, check that the plan covers the regions you will actually be in rather than assuming “Japan” means everywhere.
Data-only is the norm, and it changes what you can do
Most travel eSIMs are data-only. A few sell a voice add-on, and some bundle a phone number from another country rather than a Japanese one. Read what you are buying: a data plan with a US number attached is not a Japanese number, and will not help you ring a restaurant in Kyoto.
Check whether tethering is allowed
Sharing your connection with a laptop or a second phone is the difference between one plan for a group and one per person. Some plans allow it freely, some cap it, some exclude it. Check the plan terms before you promise the family Wi-Fi.
Installation timing and top-ups
An eSIM profile is installed once and can be switched on later, which is what you want: install at home, activate on the tarmac. What happens when data runs out varies more. Some providers let you top up the same profile from the app in a minute; others expect a second purchase. On a two-week trip with heavy map use, that matters more than the headline price.
Two providers are worth naming because they sit at different ends of this spectrum. Yesim sells one eSIM covering a long list of countries including Japan on a pay-as-you-go basis, and its published product pages say unused balance carries over to the next trip rather than expiring with the itinerary. Saily, from the team behind NordVPN, sells prepaid country and regional plans with security filtering built into the connection at network level, plus an optional US number add-on. Neither is automatically right; they solve slightly different problems, and you should pick the one that matches yours.
The realistic options compared
| Option | What you get | Main trade-off | Sensible for |
|---|---|---|---|
| Travel eSIM (Yesim, Saily and similar) | Data on arrival, install before you fly, home SIM stays active for calls and banking codes | Data-only in most plans; support is usually in-app chat; needs an eSIM-capable, unlocked phone | Most one- to three-week trips |
| Physical tourist SIM at the airport | A card in your hand, sometimes with voice minutes | Queue, passport registration, limited counter times, and a SIM slot you may not have | Phones that cannot do eSIM |
| Pocket Wi-Fi rental | Data for several devices at once | Another object to charge, carry and return, plus a deposit | Families and small groups sharing one connection |
| Home carrier roaming | Nothing to install | Cost and speed caps depend on your home plan | Very short trips, low data use |
| Free Wi-Fi only | Nothing to buy | Gaps exactly when you need a map, repeated logins, public-network risk | Almost nobody, as a sole plan |
The comparison that matters most is eSIM versus pocket Wi-Fi, because both work and they fail differently. An eSIM fails if your phone cannot install it, which is a five-minute problem you solve at home. A pocket Wi-Fi fails if it is out of battery, left in the previous hotel, or due back at a counter before your flight, and those failures happen mid-trip.
Picking by trip
A week or two in Tokyo, Kyoto and Osaka
Buy one data plan for the phone you navigate with, install it before you fly, and leave your home SIM in place for calls and bank codes. Set the eSIM as the data line and the home line for voice and SMS. Check that your phone is carrier-unlocked and that the plan covers the whole country rather than one region: a day trip to Nara or Hakone is still Japan.
If you are travelling as a couple, decide early whether one plan shared as a hotspot is enough. Maps and messaging are light; photo uploads and video calls are not, and a shared plan empties about twice as fast as you expect.
Three weeks or more, moving every second day
Long trips change the calculation: more data, more top-ups, and more places where one network is stronger than another. Choose a provider whose top-up process you have actually looked at, and prefer one that lets you buy more data on the existing profile. If you plan to work from cafés, treat the eSIM as a backup to Wi-Fi and check tethering terms first.
If you might work from the road
Work means video calls and uploads, which is where cheap plans show their limits. Look for a plan that states its speed policy openly, keep the laptop on Wi-Fi where it is reliable, and use the eSIM for the phone and for tethering when Wi-Fi fails. A data-only plan will not give you a phone number: keep your home number active if you need to be reachable.
If you are travelling as a family or group
Two workable shapes: one plan per adult phone, or a single pocket Wi-Fi unit in a day bag. Per-person plans cost more but remove the single point of failure; a shared unit is cheaper per device but adds a nightly charging job and fails completely if it is left behind.
What to check before you buy
Work through this in order. It takes ten minutes and prevents most of what people later blame on the provider.
- Confirm your phone supports eSIM and is unlocked. Most recent iPhones and many Android flagships do; some regional models and most carrier-locked handsets do not. The check is in your phone settings, not on the provider’s site.
- Install the profile at home, on Wi-Fi, before you fly. Activation is usually a separate step, so you can install days early and switch the line on when you land.
- Decide which line carries data and which carries calls. Keep the home SIM active for banking codes and emergency calls; set the eSIM as the data line.
- Read the tethering rule if you plan to share the connection.
- Check what happens at the end of the allowance. A top-up you can buy in the app is worth more than a marginally cheaper plan you have to replace.
- Save the support channel offline. Screenshot the help page before you fly, because the moment you need it is the moment you have no data.
- Confirm current requirements for any physical SIM or voice line. Identification rules and airport counter hours change; check before you rely on buying at arrivals.
Where people get stuck
The most common failure is not coverage. It is installing the eSIM in the wrong order: profile installed, line switched on, then an eleven-hour flight with the plan quietly running. Install early, activate on landing.
The second is expecting a phone number from a data plan. If a restaurant needs a call, a data-only eSIM cannot make it.
The third is a hotspot that will not share: either the plan excludes tethering or the handset needs its access point name checked. The fix is in the plan terms or the help pages, not in repeated restarts.
The fourth is a phone that refuses the profile at all, usually a locked handset or a model sold where eSIM is not supported. That is a hardware answer, and it is better discovered at home than at a gate.
Three quick tests before you commit:
- If the plan page never states whether tethering is allowed, assume it is limited.
- If support is email-only with a stated reply time measured in days, that is your arrival-day risk.
- If the data allowance cannot be topped up on the same profile, you are buying a replacement rather than a plan.
If you are still deciding how the trip itself fits together, our two-week Japan route covers transport and pacing, and the guide to where to stay in Kyoto decides how much walking your days involve. For the travel-day mechanics that make an arrival smoother, the routine that survives delays is the companion read.
Frequently asked questions
Is an eSIM better than pocket Wi-Fi in Japan?
For a solo traveller or a couple, usually yes: nothing extra to carry, charge or return, and it works the moment you land. Pocket Wi-Fi still wins for a family wanting one connection shared across several devices, and for anyone whose phone cannot install an eSIM.
Can I keep my normal number while using a Japan eSIM?
Yes, and you should. Set the eSIM as the line that carries data and leave your home SIM active for calls and SMS, so bank codes still arrive. Check what your carrier charges for receiving texts abroad before you go.
Does a Japan eSIM give me a Japanese phone number?
Usually not. Most travel eSIMs are data-only. A few sell a voice add-on, and some bundle a number from another country, which is not a Japanese number. If you need to make local calls, confirm exactly what the plan includes.
How much data do I need for a two-week trip?
It depends on whether you tether and upload photos. Maps, messaging and translation are light; video and photo backups are not. Buy a plan you can top up rather than guessing perfectly, and keep large uploads for hotel Wi-Fi.
What happens if the eSIM does not work on arrival?
Check three things in order: that the line is switched on, that it is selected for data, and that roaming is enabled for that line. If it still fails, the provider’s help pages usually cover the access point name, which is why keeping a screenshot offline is the practical insurance.
The bottom line
For most Japan trips the right answer is one data-only eSIM, installed at home, activated on landing, with your home SIM left in place for calls. Choose between providers on the details that affect your trip rather than the headline: coverage where you are going, whether tethering is allowed, how a top-up works, and whether the app is usable when you are tired in an arrivals hall.
If you travel repeatedly across countries, a plan that carries unused balance forward is worth more than a slightly cheaper one-off; Yesim is built around that model. If you want a simple prepaid plan with security filtering on the connection itself and an optional number add-on, Saily is the other sensible starting point. Compare what each includes for your dates and check current plans before you buy, then spend the ten minutes on setup at home that saves an hour at the airport.


